Night vision effect in Photoshop
Step 1
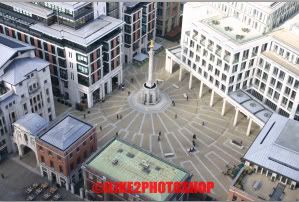
Open an image in Photoshop. It’s best to use an image which contains some scenery such as buildings or landmarks.

Step 2
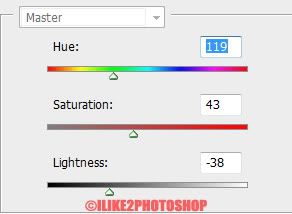
Duplicate the background layer by pressing Ctrl + J on the keyboard. Then select Image > Adjustment > Hue/Saturation. Check the Colorize box at the bottom of the dialog window and then give your image a green colour. I have used the following settings, but you can use whatever setting you wish. I have set the hue to 124, the saturation to 43 and the lightness to -36.

Step 3
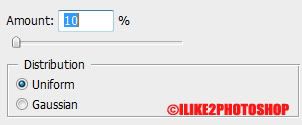
Add some noise to your image by selecting Filter > Add Noise. I have only added a small amount of noise to my image. The amount I used is 10% and the distribution is uniform.

Step 4
Take the burn tool with the range at Midtones and the exposure at 64%. And paint around the edges of the image. Apply about 5 -6 layers of burn around the edges, so you get a slightly blacken colour.

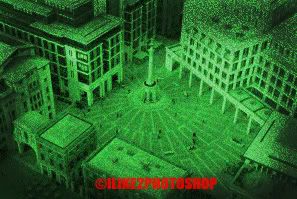
You should now have a night vision effect.
Tags:

1 comments: on "How To Create Night Vision Effect In Photoshop"
I don't know how to do ..! now i will try ..!
Post a Comment